How to Photograph Your Wardrobe Clearly
4 min read
Wdrobe

Wardrobe photos are for planning rather than display, which means consistent light, one background, and one garment at a time.
The window with the best light is rarely beside a plain wall. Lay each piece on the floor there instead: the Wdrobe app cuts the background out automatically, so every garment ends up on the same blank backdrop.
What the photos need to do
Decide what the images are for: outfit planning, insurance, or selling. Consistency matters more than quality, and daylight is the only equipment that counts.
Shoot one category to a standard rather than the whole wardrobe roughly. Tops alone will prove whether the setup works.
Five steps to a usable set
1. Use indirect daylight and one quiet background for consistent color
Indirect daylight and one plain background keep colors comparable between garments. A window on an overcast day is better than any lamp, and better than direct sun.
2. Photograph one complete garment at a time from a repeatable distance
One garment per frame, from the same distance every time, or the images will not sit together. Mark where you stand, because a change in distance makes two garments impossible to compare.
Photographing is the chore; the outfits are the payoff. Doing twenty pieces and building something with them beats doing two hundred and stopping. Get to the payoff after twenty.
3. Capture useful front, back, texture, and detail views only when needed
Front, back, a texture close-up and one detail, and only when that detail decides something. Texture matters for knitwear and anything with a pattern; for a plain tee, one view is enough.
4. Crop consistently without cutting off hems, sleeves, shoes, or bags
Crop to the same margins and never cut off a hem, a sleeve or a shoe. A cut-off hem hides exactly the detail you needed when deciding what to wear it with.
5. Name and sort the images while the garment is still in front of you
Name and file each image before the garment leaves the frame, or it will not happen at all. Garment, color, season in the filename gets you further than any folder structure.
Check whether you use them
After a fortnight, check whether you actually opened the photos. If not, the fault is usually cropping or naming rather than the pictures.
If the set is hard to use, name the fault: the colors are off, or you cannot tell two navies apart. Both are fixable.
Frequently asked questions
How do you photograph clothes for a wardrobe app?
Use indirect daylight, a plain wall or floor, and shoot straight on with the garment flat or hung. Consistency between photos matters more than quality. It is what makes the catalog readable at a glance.
What is the best background for clothing photos?
A plain light wall, a white sheet or a clean floor. Patterned backgrounds and strong shadows are the main reason automatic background removal produces poor cutouts.
How long does it take to photograph a wardrobe?
Roughly 20 to 40 seconds per item once you have a setup, so about half an hour for 50 pieces. Doing it in one session with a fixed spot is far faster than photographing items as you wear them.
Good photos are only worth taking if they end up somewhere you will actually look at them. Do twenty, then build something with them to store them as a browsable wardrobe rather than a folder on your phone.
← All articles
Take Wdrobe with you
Enjoyed the read? Get the full virtual try-on experience — download Wdrobe on the App Store or Google Play.
Related articles
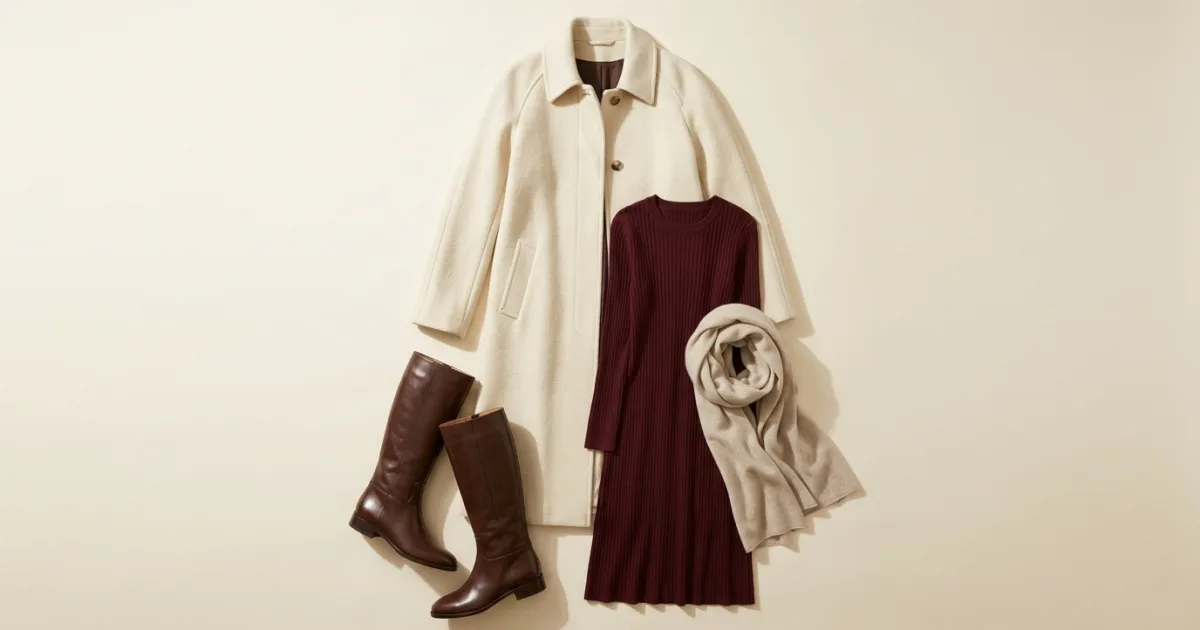
A Christmas market is four hours of standing still outdoors. Here is what to wear for it, and which colours survive the lighting.
Read Article
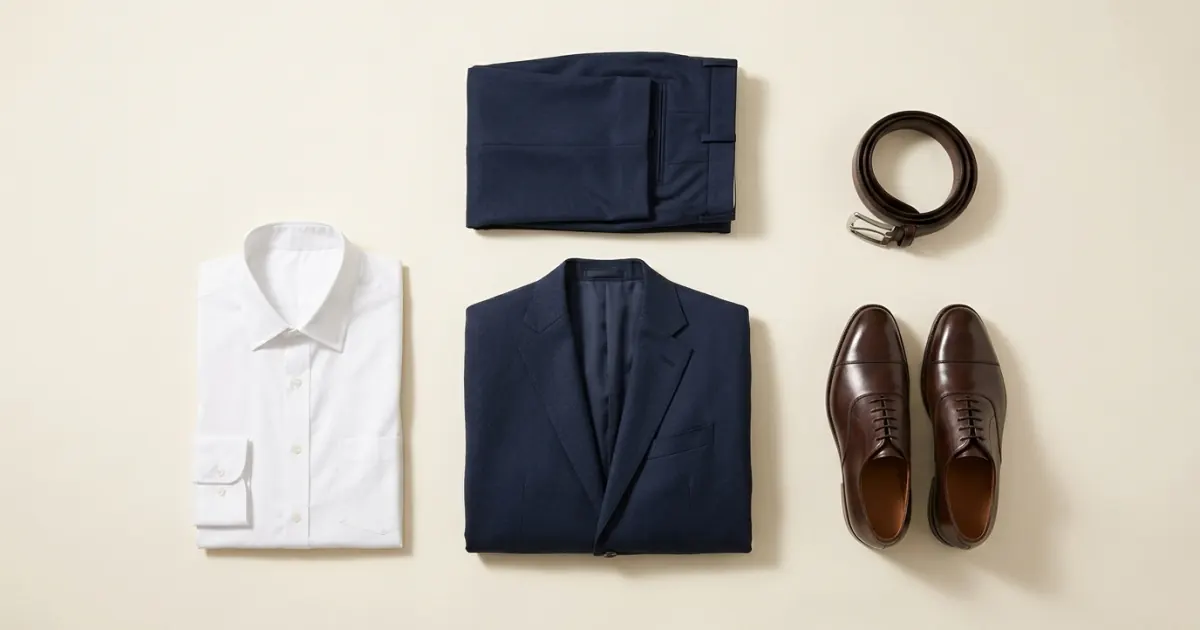
Seven shoe colours for a navy suit, from dark brown oxfords to white trainers, with the matching belt and socks and what to wear for business, interviews and weddings.
Read Article
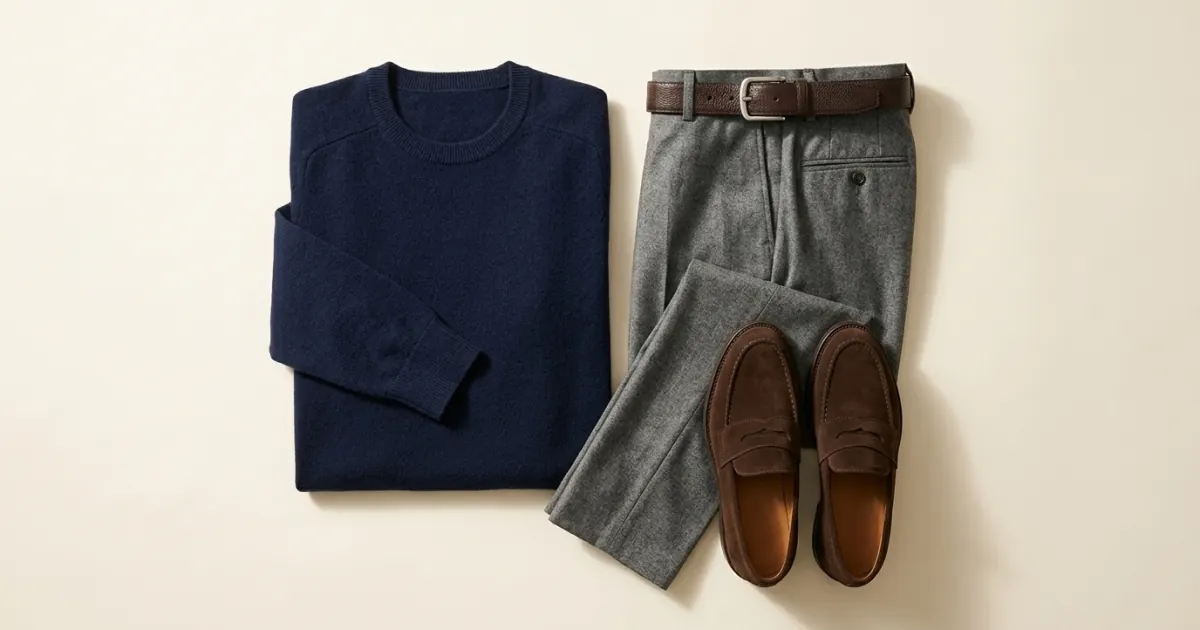
Twelve men's outfits across casual, smart casual and tailored dressing, each naming the top, trousers and shoes, plus how to match belts and socks and how many colours to wear.
Read Article